在你看到这篇博客时,就代表我的Pinry图床已经UP了。本文所有图片都来自我的图床。
Pinry Github地址: https://github.com/pinry/pinry/
前情提要:
由于博客图片越来越多,博客的机器可能会没硬盘空间,所以我决定真正意义上自建一个稳定的图床。(以前的图床都只是玩玩)
想到了以前使用的 Chevereto 但是Github一看全都是Public Archive,然后一看官网发现他们已经变成了需要99USD License的模式。
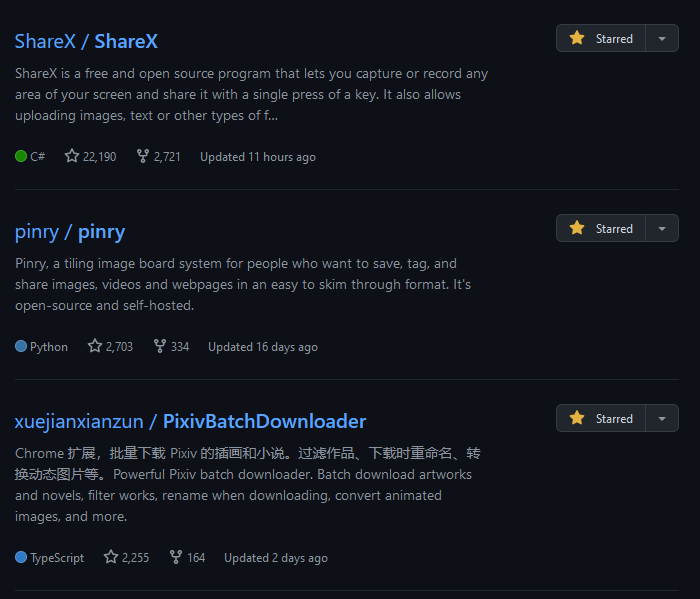
于是我只能在Github我的Star里面搜,只有寥寥几个。

其中只有Pinry和另外一个35 Stars的国人作者(意外的更新很勤快?)的repo。
查看玩Pinry的文档后,我发现这Installation Guide讲的可真是。。。怎么说呢?简洁吧。
正式安装
那我们接下来开始在Ubutnu20.04.5LTS (老规矩,垃圾centos)上进行安装。
apt update && apt upgrade && apt install curl 强迫症,先确保源line up了。
curl -fsSL https://get.docker.com -o get-docker.sh && sh get-docker.sh 使用Docker官方脚本一键无脑安装Docker。
我们接下来使用Build Docker from Source 方式。
git clone https://github.com/pinry/pinry
cd pinry/docker
./build_docker.sh
mkdir data先创建data文件夹,为了后期可以备份我们在docker container内部的data文件夹。
docker run -d=true -p=80:80 \
    -v pinry:/data \
    getpinry/pinry
这是官方文档操作方式,我建议左边的80(也就是外部端口)改为8080。再在8080前面增加127.0.0.1。 也就是把第一行变为 docker run -d=true -p 127.0.0.1:8080:80 \ 这是因为作者的docker本身不带自动https,我们后期需要使用Apache或者Nginx做一个Https反代,这时你的原Docker暴漏出来的端口8080公网可以http访问,我们绑定127.0.0.1,只监听localhost,这样公网就无法访问,只能使用后期Apache或者Nginx反代的公网端口访问,达到我们的安全目的。
当你做完以上步骤,你的Pinry Docker应该就已经Up了。使用Docker stats 确认(Ctrl+c 退出),再使用你的 公网端口:8080 确定你的图床8080公网无法访问,再 lsof -i:8080 查看8080端口是不是被Docker占用了。
如果被占用了,公网也无法访问,那么我们就可以进行下一步。

apt install apache2 安装Apache2 web服务器,准备反代。
cd /etc/apache2/sites-available 进入Apache2网站配置文件夹
vim pinry.conf 创建网站配置文件
<VirtualHost *:443>
  ServerName sub.domain.com
  SSLEngine On
  SSLCertificateFile /path/to/ssl/cert/crt
  SSLCertificateKeyFile /path/to/ssl/key/key
  # Protocol 'h2' is only supported on Apache 2.4.17 or newer.
  Protocols h2 http/1.1

  ProxyPass / http://localhost:3001/
  RewriteEngine on
  RewriteCond
  RewriteRule /(.*) ws://localhost:3001/$1 [P,L]
  RewriteCond
  RewriteRule /(.*) http://localhost:3001/$1 [P,L]
</VirtualHost>
复制上面配置,把 sub.domain.com 改为你自己的域名。不要在意ws什么的,网上随便复制粘贴的配置。(又不是不能用.jpg) SSL文件目前先不管,后面配置。
cd /etc/apache2/sites-enabled 我们去启用网站配置文件
ln -s /etc/apache2/sites-available/pinry.conf 创建Symlink,常用Symlink是好事,不要直接创建配置文件。
由于上面的配置,我们需要启用Apache2插件
a2enmod sslengine
a2enmod ssl
a2enmod proxy_http
systemctl restart apache2 重启apache2,应用config。
你接下来应该会启动失败,因为我们之前没有配置SSL证书。所以我们接下来使用 Certbot 配置 SSL 证书。

apt install snapd
snap install core; sudo snap refresh coresnap install --classic certbotcertbot certonly做完这些你应该按照提示填写域名相关信息。验证方式选择2,Standalone server。

结束后你将会获得SSL证书。
Successfully received certificate.Certificate is saved at: /etc/letsencrypt/live/xxx.xxx.xxx/fullchain.pemKey is saved at: /etc/letsencrypt/live/xxx.xxx.xxx/privkey.pemThis certificate expires on 2023-02-14.These files will be updated when the certificate renews.Certbot has set up a scheduled task to automatically renew this certificate in the background.
vim /etc/apache2/sites-available/pinry.conf 把之前的SSL Path换成Certbot给你的证书Path。xxx.xxx.xxx 换成你自己的域名。
到这时你重启 Apache2 再访问你的域名应该就可以看见Pinry了。你需要现在注册账户,然后我们接下来去Docker container内关闭注册(如果你想随便什么人都能注册那么教程就到这里结束了)(如果你没法注册,那么可能是注册默认关闭了,你也需要看接下来步骤先开启注册,注册账户完成后再关闭注册)。
docker stats 我们先获取你的Docker container名称。
docker exec -it <container-name> bash container-name改为你的Docker container名称(<>去掉)
运行这行命令后你就已经在Docker container里面了。
apt install vim 由于我们接下来需要修改文件,Docker container没有带文本编辑器,所以我们安装vim。
vim /data/local_settings.py 找到ALLOW_NEW_REGISTRATIONS = True True 改为 False。Vice Versa。
接下来我们输入 exit 即可退出Docker Container。(你的Docker Container Hostname 和外面不一样,有没有退出注意那里即可)
检查你的网站是否还可以注册,不可注册就已经完美的搭建了你的私人图床。


Comments NOTHING